Install Kitchen Faucet With Sprayer
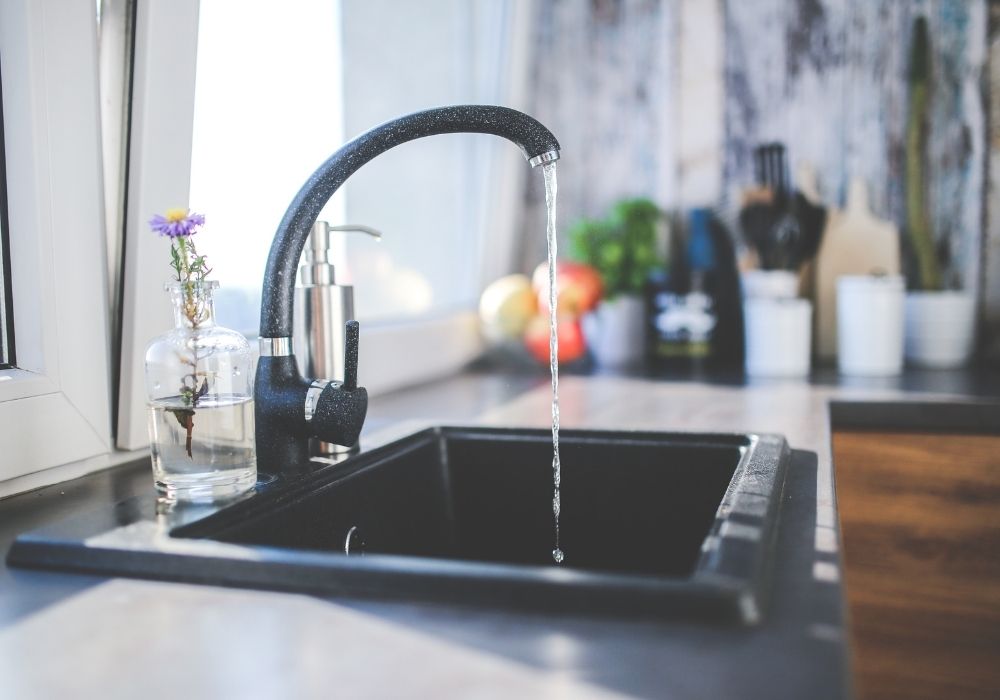
To install a kitchen faucet with a sprayer, follow these steps. Disconnect the old faucet, clean the sink, position the new faucet correctly, connect the supply lines, and attach the sprayer hose.

Credit: www.homedepot.com
Choose The Right Kitchen Faucet With Sprayer
Discover the perfect kitchen faucet with sprayer for your home. Easily install a functional and stylish addition to your kitchen that will make your daily tasks a breeze.
Adding a sprayer to your kitchen faucet can greatly enhance the functionality and convenience of your sink. Whether you’re washing dishes, cleaning fruits and vegetables, or filling large pots, a sprayer provides you with flexibility and ease of use. But with so many options available, how do you choose the right kitchen faucet with a sprayer?
In this section, we will explore the factors to consider when selecting a kitchen faucet, discuss the importance of a sprayer, and take a look at the different types of kitchen faucets with sprayers.
Factors To Consider When Selecting A Kitchen Faucet:
Before purchasing a kitchen faucet with a sprayer, it’s important to evaluate certain factors to ensure that you make the right choice. Consider the following aspects:
- Sink Configuration: Take into account the number of holes in your sink and the configuration of your existing faucet. Ensure that the faucet you choose is compatible with the existing setup.
- Style and Design: Select a faucet that complements the overall aesthetic of your kitchen. Whether you prefer a modern, traditional, or transitional style, there are countless options available to suit your taste.
- Sprayer Features: Look for a sprayer with features that cater to your needs. Consider factors such as spray patterns, water pressure, and ease of use.
- Quality and Durability: Invest in a kitchen faucet that is made from high-quality materials to ensure its longevity. Look for faucets with durable finishes that resist scratches and tarnishing.
The Importance Of A Sprayer In A Kitchen Faucet:
A sprayer is more than just an additional feature in a kitchen faucet. It offers several advantages that can streamline your daily activities in the kitchen. Here’s why a sprayer is important:
- Versatility: A sprayer provides you with the ability to direct and control the flow of water. This versatility makes tasks like rinsing dishes, filling pots, and even cleaning the sink a breeze.
- Enhanced Cleaning: With a sprayer, you can easily target hard-to-reach areas and effectively clean dishes, utensils, and even the sink itself. The added pressure in the sprayer helps remove stubborn residue and food particles.
- Time-Saving: The convenience of a sprayer allows you to complete kitchen tasks more efficiently, saving you time and effort. It’s particularly beneficial when multitasking or when you have a large load of dishes to clean.
Different Types Of Kitchen Faucets With Sprayers:
Now that you understand the factors to consider when selecting a kitchen faucet and the importance of a sprayer, let’s explore the different types of kitchen faucets available with sprayers:
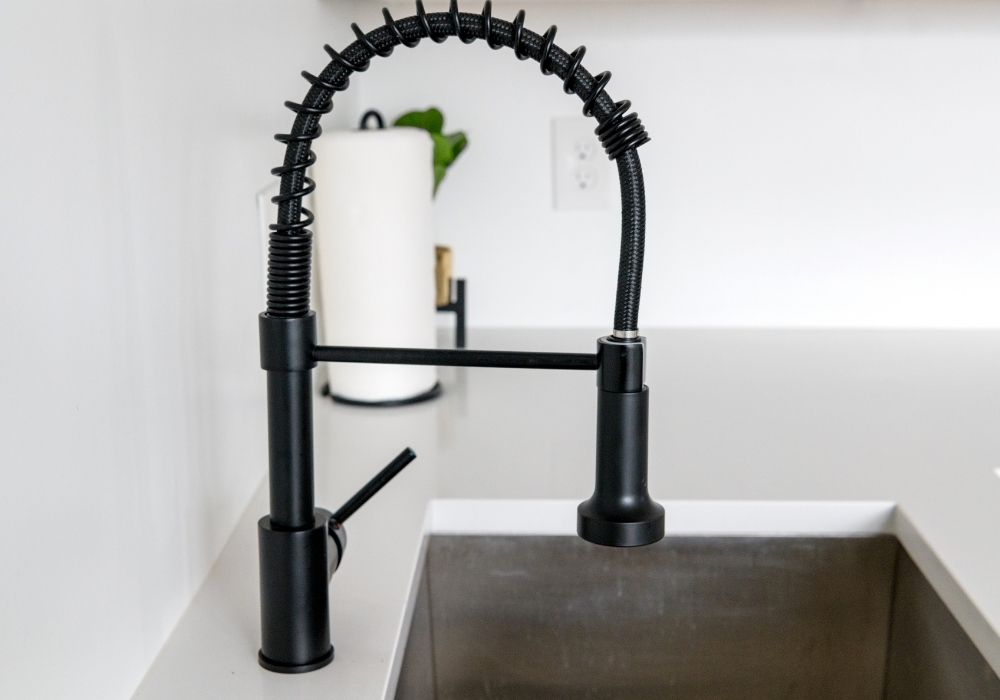
- Pull-Down Faucets: These faucets feature a sprayer that pulls down directly from the spout. They offer flexibility and ease of use, making them a popular choice for many kitchens.
- Pull-Out Faucets: Similar to pull-down faucets, pull-out faucets also have a sprayer, but it pulls out horizontally. They are ideal for filling tall pots and cleaning the sink.
- Side Spray Faucets: These faucets have a separate sprayer that is installed beside the faucet. They offer the flexibility of directing water flow and can be a great choice if you prefer a traditional look.
By considering these factors, understanding the importance of a sprayer, and exploring the different types of kitchen faucets, you can confidently choose the right kitchen faucet with a sprayer that meets your needs and enhances your kitchen experience.
Pre-Installation Checklist
A pre-installation checklist is essential when installing a kitchen faucet with a sprayer. Ensure a smooth installation process by following these guidelines.
Before you start installing a kitchen faucet with a sprayer, it’s important to properly prepare. Follow this simple pre-installation checklist to ensure a smooth process:
Gather Necessary Tools And Materials:
- Adjustable wrench: This versatile tool will help you tighten connections and secure the faucet.
- Screwdriver: You may need this to remove any screws holding the old faucet in place.
- Plumber’s tape: This will help create a watertight seal when connecting the new faucet.
- Safety glasses: Protect your eyes from any debris that may dislodge during the installation.
- Towels or rags: Have these handy to clean up any spills or drips.
- Bucket: Place a bucket under the sink to catch any water that may leak during the installation.
- New kitchen faucet with sprayer: Ensure you have the correct replacement faucet ready before getting started.
Shut Off The Water Supply:
Before installing a new kitchen faucet, it’s crucial to turn off the water supply. Here’s how to do it:
- Locate the water shutoff valves under the sink.
- Turn off both the hot and cold water supply by twisting the valves clockwise until they are tightly closed.
- Once the water supply is shut off, turn on the faucet to relieve any remaining pressure in the lines.
Prepare The Workspace:
Creating a clean and organized workspace will make the installation process much easier. Follow these steps to prepare your workspace:
- Clear out any items from under the sink to make room for your tools and materials.
- Place a towel or cardboard on the base of the cabinet to protect it from any spills or scratches.
- Ensure you have enough lighting to see clearly under the sink.
- Familiarize yourself with the layout of the existing plumbing connections, as this will help when installing the new faucet.
By gathering the necessary tools and materials, shutting off the water supply, and preparing your workspace, you’ll be ready to install your new kitchen faucet with a sprayer. Taking the time to complete this pre-installation checklist will help to ensure a successful and seamless installation process.
Removing The Old Faucet
To successfully install a kitchen faucet with a sprayer, it is important to start by removing the old faucet. Use the appropriate tools to disconnect the supply lines and remove the mounting nuts, making sure to carefully follow the manufacturer’s instructions.
If you’re considering installing a kitchen faucet with a sprayer, one of the first steps is removing the old faucet. Here’s what you need to know:
Disconnecting Water Supply Lines:
- Turn off the water supply by locating the shutoff valves beneath the sink and turning them clockwise.
- Place a bucket or towel beneath the sink to catch any water that may still be in the lines.
- Use an adjustable wrench to loosen the nuts connecting the water supply lines to the faucet. Turn them counterclockwise until they are completely detached.
- Once the nuts are loose, carefully remove the water supply lines from the faucet. You may need to use a bit of force, but be gentle to avoid damaging the lines.
Removing The Old Faucet And Sprayer:
- Locate the mounting nuts that secure the faucet to the sink. These are usually found beneath the sink, surrounding the base of the faucet.
- Use a basin wrench or an adjustable wrench to loosen and remove the mounting nuts. Turn them counterclockwise until they are completely detached.
- With the mounting nuts removed, lift the old faucet and sprayer off the sink. Be careful as you do this to avoid scratching or damaging the sink surface.
- Once the faucet is removed, thoroughly clean the area where it was installed. Use a mild cleaner and a sponge or cloth to remove any grime or residue. Ensure the area is dry before proceeding with the installation of the new faucet.
Removing the old faucet is an important step in the process of installing a new kitchen faucet with a sprayer. By following these steps, you’ll be well on your way to upgrading your kitchen’s functionality and style.
Installing The New Faucet
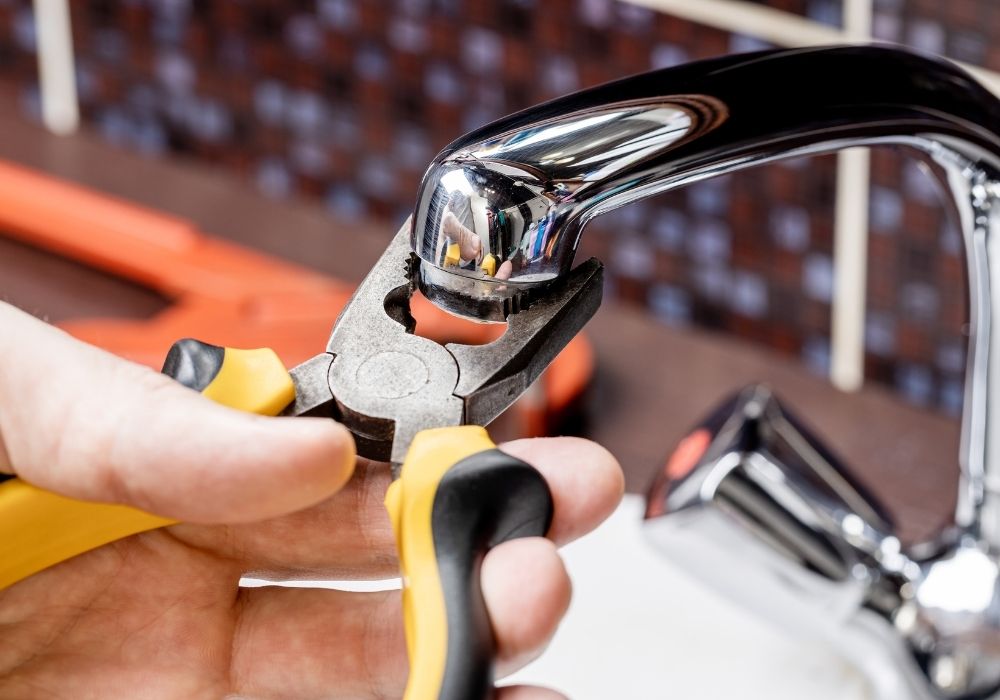
Upgrade your kitchen with ease by installing the new faucet with a sprayer. Enjoy the convenience of a sprayer for easy cleaning and rinsing.
Are you ready to upgrade your kitchen faucet with a sprayer? Installing a new faucet may seem like a daunting task, but with the right instructions, you’ll have it up and running in no time. In this section, we’ll guide you through the process step by step, from assembling the new faucet and sprayer to connecting the water supply lines.
Assembling The New Faucet And Sprayer:
- Start by unpacking the new faucet and sprayer and familiarizing yourself with the parts.
- Follow the manufacturer’s instructions to assemble the faucet and sprayer. Make sure to tighten all the connections securely.
Attaching The Faucet To The Sink Or Countertop:
- Place a deck plate or gasket (if included) on the sink or countertop to create a seal between the faucet and the surface.
- Position the faucet over the mounting holes and align it properly.
- From under the sink or countertop, secure the faucet with the included mounting nuts. Use a wrench to tighten them firmly, but be careful not to overtighten and damage the sink or countertop.
Connecting The Water Supply Lines:
- Before you begin, turn off the water supply to your kitchen.
- Connect the flexible hoses or supply lines from the faucet to the hot and cold water valves.
- Ensure that each connection is tight using an adjustable wrench, but again, avoid overtightening to prevent leaks.
- Once the connections are secure, turn on the water supply and check for any leaks. If you spot any, tighten the connections a bit more until the leaks stop.
By following these simple steps, you can successfully install your new kitchen faucet with a sprayer. Take your time, follow the instructions, and enjoy the satisfaction of a job well done. Happy faucet installation!
Connecting The Sprayer
Install your kitchen faucet with sprayer by connecting it securely, ensuring optimal functionality and convenience in your kitchen. With proper installation, you can easily switch between the faucet and sprayer for effortless usage.
Installing The Sprayer Hose And Mounting Bracket
To begin installing your kitchen faucet sprayer with a sprayer hose and mounting bracket, follow the steps below:
- Place the mounting bracket on the side of the sink where you want to install the sprayer. Ensure that it is securely tightened and does not move.
- Attach the sprayer hose to the mounting bracket. Use a wrench to tighten the connection, ensuring it is firm and leak-free.
- Route the sprayer hose through the hole in the sink or countertop and connect it to the faucet body. Make sure the connection is secure.
- Use a wrench to tighten the connection between the sprayer hose and the faucet body. Be careful not to overtighten, as it may cause damage.
- Double-check all connections to ensure they are tight and properly aligned.
Connecting The Sprayer Hose To The Faucet
Now that you have installed the sprayer hose and mounting bracket, it’s time to connect the sprayer hose to the kitchen faucet. Follow these steps:
- Locate the connection point on the faucet where the sprayer hose will attach.
- Slide the rubber washer onto the threaded end of the sprayer hose.
- Insert the threaded end of the sprayer hose into the faucet connection point.
- Twist the sprayer hose clockwise until it is firmly secured to the faucet. Use a wrench if necessary, but be cautious not to overtighten.
- Check for any visible leaks around the connection point to ensure a proper seal.
Testing The Sprayer For Leaks
After connecting the sprayer hose to the faucet, it is essential to test for any leaks. Follow these steps to ensure a leak-free installation:
- Turn on the water supply to the faucet.
- Activate the sprayer by pressing the sprayer handle.
- Inspect the connections and the sprayer itself for any signs of leakage.
- Run water through the sprayer hose at various pressures to determine if there are any leaks.
- If you notice any leaks, tighten the connection points as needed until they are firmly sealed.
- Repeat the testing process after making adjustments to ensure everything is leak-free.
By following these simple steps, you can install a kitchen faucet with a sprayer and enjoy the convenience of a versatile sink fixture. Remember to check for leaks regularly to maintain the functionality and longevity of your kitchen faucet sprayer.
Final Touches And Testing
Prepare your kitchen faucet for seamless functionality by adding the final touches and conducting thorough testing. Ensure a flawless installation of a kitchen faucet with sprayer for a convenient and efficient washing experience.
Once you have completed the installation of your kitchen faucet with a sprayer, it’s time to put on the finishing touches and ensure everything is working as it should. Follow these steps to check all connections, reinstall any necessary components, and test the functionality of the faucet and sprayer:
Checking All Connections For Tightness:
- Go through each connection point, including where the water supply lines meet the faucet and sprayer. Make sure they are securely tightened to prevent any leaks.
- Check the connection between the sprayer and the hose as well. Ensure it is tightly screwed in to avoid any potential issues later.
- Inspect the connection point where the sprayer hose connects to the spray head. Tighten it if necessary to ensure a secure fit.
Reinstalling Any Necessary Components:
- If you had to remove any parts during the installation process, such as the aerator or mounting nuts, make sure to reinstall them properly.
- Attach the aerator to the end of the faucet spout, ensuring a snug fit.
- Reattach the mounting nuts and secure them firmly to hold the faucet in place.
Testing The Faucet And Sprayer For Functionality:
- Turn on the water supply and check for any leaks around the connections and spout. If you notice any leaks, tighten the connections further as needed.
- Test the hot and cold water handles separately to ensure they are functioning correctly. Check if the water flows smoothly and without any issues.
- Activate the sprayer by pressing the button or flipping the switch depending on the design of your faucet. Confirm that the sprayer produces a steady stream of water and switches back to the regular flow when deactivated.
By following these final touches and testing steps, you can ensure that your newly installed kitchen faucet with a sprayer is working perfectly. Enjoy the convenience and functionality it brings to your kitchen chores.
Troubleshooting Common Issues
Having trouble installing a kitchen faucet with sprayer? Our troubleshooting guide provides step-by-step instructions and solutions to common issues, ensuring a smooth installation process. Say goodbye to leaks and enjoy your new faucet in no time.
Dealing with issues related to your kitchen faucet with sprayer can be frustrating, but fortunately, most problems can be resolved without the help of a professional plumber. In this section, we’ll address some of the common problems you might encounter and provide you with simple troubleshooting steps to resolve them.
Low Water Pressure:
- Check the aerator: Remove the aerator at the end of the faucet spout and clean it thoroughly. Mineral deposits can build up and restrict the water flow.
- Check the supply valves: Ensure that the supply valves under the sink are fully open. Sometimes, they might be partially closed, resulting in low water pressure.
- Check the water supply line: Examine the water supply line for any kinks or obstructions that may restrict the water flow. Straighten any kinks and clear any blockages if found.
Leaks Or Drips:
- Tighten the connections: Inspect all the connections between the faucet and the water supply lines. If you notice any loose fittings, use a wrench to tighten them carefully. Be cautious not to overtighten and cause damage.
- Replace worn-out parts: Over time, certain components of the faucet, such as the O-rings or washers, can wear out and lead to leaks. Replace these parts to resolve the issue.
- Check the cartridge or valve: If the leak persists, the problem could be with the cartridge or valve. Remove the handle and check for any damage or debris. Consider replacing the cartridge or valve if needed.
Incompatible Fittings Or Connections:
- Verify compatibility: When installing a new kitchen faucet with sprayer, ensure that the fittings and connections match the existing plumbing. Replacing incompatible parts can lead to leaks or other issues.
- Consult the manufacturer: If you encounter compatibility issues, refer to the manufacturer’s instructions or contact their customer support for guidance. They can provide specific solutions based on the faucet model.
- Seek professional help if needed: If you’re uncertain or unable to resolve the problem on your own, it’s best to consult a professional plumber. They have the expertise to identify and fix any compatibility issues correctly.
Remember, understanding these common issues and their troubleshooting steps can save you time and money. By following these guidelines, you’ll be able to resolve most problems with your kitchen faucet with sprayer on your own.
Maintenance And Care Tips
Discover the top maintenance and care tips for installing a kitchen faucet with a sprayer. Keep your faucet in top condition with these easy-to-follow guidelines.
Cleaning the faucet and sprayer regularly:
- Use a soft cloth or sponge and mild dish soap to clean the external surfaces of your kitchen faucet and sprayer. Avoid using abrasive cleaners or scrub brushes that can damage the finish.
- Pay attention to hard-to-reach areas such as the base of the faucet and the sprayer head. Use an old toothbrush or a narrow brush to remove any buildup or debris.
- Rinse the faucet and sprayer thoroughly with warm water to remove any soap residue.
- Dry the surfaces completely with a clean, soft cloth to prevent water spots and maintain their appearance.
Preventing mineral buildup:
- Mineral buildup can occur due to hard water in some areas. To prevent this, wipe down the faucet and sprayer after each use to remove any water droplets.
- Consider using a water softener or installing a filtration system to reduce the mineral content in your water supply.
- If mineral deposits have already formed, soak a cloth or paper towel in white vinegar and wrap it around the affected areas. Leave it for about 30 minutes, then remove and rinse with water. Repeat if necessary.
Addressing any issues promptly to avoid further damage:
- If you notice any leaks, drips, or unusual behavior from your faucet or sprayer, address them promptly to avoid further damage.
- Check the connections and tighten any loose fittings if necessary.
- Replace worn or damaged O-rings or washers to prevent leaks.
- If you are unsure about the issue or unable to fix it yourself, consult a professional plumber for assistance.
By following these maintenance and care tips, you can keep your kitchen faucet with sprayer in good condition and extend its lifespan. Regular cleaning, preventing mineral buildup, and addressing any issues promptly will ensure optimal performance and avoid costly repairs in the long run.
Frequently Asked Questions Of Install Kitchen Faucet With Sprayer
How Long Does It Take To Install A Kitchen Faucet With A Sprayer?
Installing a kitchen faucet with a sprayer typically takes around 1-2 hours, depending on your skill level and previous experience with plumbing tasks. It’s important to read the manufacturer’s instructions carefully and gather all the necessary tools before starting the installation process.
What Tools Do I Need To Install A Kitchen Faucet With A Sprayer?
To install a kitchen faucet with a sprayer, you’ll need a few basic tools such as an adjustable wrench, pliers, a screwdriver, and plumber’s tape. Additionally, you may also need a basin wrench or a mounting bracket, depending on the specific faucet model you are installing.
Can I Install A Kitchen Faucet With A Sprayer Myself, Or Do I Need To Hire A Professional Plumber?
With some basic DIY skills and proper tools, you can install a kitchen faucet with a sprayer yourself. However, if you are not comfortable with plumbing tasks or are unsure about the installation process, it is recommended to hire a professional plumber to ensure proper installation and avoid any potential leaks or damage.
Conclusion
Installing a kitchen faucet with a sprayer can be a simple yet effective way to enhance the functionality and convenience of your kitchen. By following the step-by-step instructions provided in this blog post, you can easily replace your old faucet with a new one that includes a sprayer.
With the wide range of options available in the market, you can choose a faucet that matches your kitchen design and meets your specific needs. Not only does a kitchen faucet with a sprayer offer the benefit of easy cleaning and washing, but it also adds a touch of elegance and style to your kitchen space.
Whether you’re an experienced DIY enthusiast or a novice, installing a kitchen faucet with a sprayer is a doable project that can be accomplished with minimal effort and tools. Take the opportunity to upgrade your kitchen and enjoy the added convenience and functionality that a new faucet with a sprayer can bring.
Start your kitchen transformation now by following the simple installation instructions provided in this blog post.


